
Outdoor game to make yourself: a throwing game
To occupy your children, during a picnic, a baptism or even a wedding, why not create a throwing game for them? Discover all the explanations to easily make an outdoor game.
Tutorial for making a throwing game
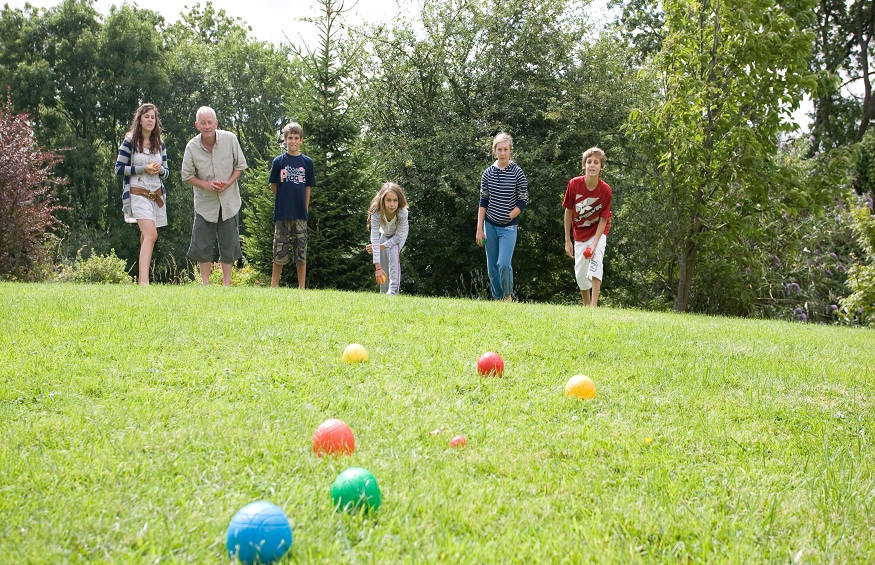
When we are invited to a wedding , we often wonder how we will be able to occupy the children . To make them happy and allow them to have a good time, we make games for them !
How to occupy your children
So that our children don’t get bored, we choose to create games for them so that they can customize them later! Very often, we find unused materials at home that can be used to create a children’s game. Thus, with a cylindrical object and a little patience, we can create a throwing game. If you don’t have balls, don’t panic, just make a few pom poms thick enough and you’re done. In winter as in summer, we favor creative activities and do-it-yourself board games to occupy our children for weddings, holidays, birthdays and other events.
DIY outdoor game
Outdoor activities are ideal, especially during the hot season. Walks, picnics, bike rides, … all means are good to keep children busy. The throwing game will appeal to young and old alike and the whole family can have fun throwing the ball to earn as many points as possible. To create a throwing game , we offer you a DREMEL tutorial , which combines recovery with DIY . In addition, it is an easy DIY and accessible to all, in no time you can go play with the children, thanks to your creation.
STEP 1
Measure and mark the cutting lines on the 6 cylinders (3 tubes of 40 cm + 2 tubes of 30 cm + 1 tube of 20 cm)
Hold the cylinders firmly then with the Dremel DSM20 compact saw and the DSM500 multi-purpose carbide disc, cut on the marked line.
2ND STEP
Draw a V-shaped pattern on a sheet of paper before tracing it with a marker at the top of each tube. With the Dremel DSM20 compact saw or with the PMF 220 oscillating multi-function tool equipped with the AIZ 32 EPC wood plunge blade, cut along the lines.
STEP 3
Paint the PVC tubes.
Once the paint is dry, sand the cut edges with 80-grit sandpaper or with the PMF 220 equipped with the delta sanding plate and 80-grit wood abrasive.
STEP 4
Adjust the size of the board to that of the cut pipes by protruding it so that it constitutes a barrier to throws. Cut on the lines drawn beforehand with the DSM20 compact saw equipped with the same cutting disc
STEP 5
Paint the board to be able to write on it with chalk, allowing the counting of points.
While the paint dries, stick the self-adhesive numbers inside the PVC tubes so that they are visible through the notch.
Build a garden shed for children
Make a child’s play drawer
STEP 6
Glue all the tubes together with mastic glue and let dry overnight.
Once the installation is dry, secure by fixing the tubes to the board with 1 cm